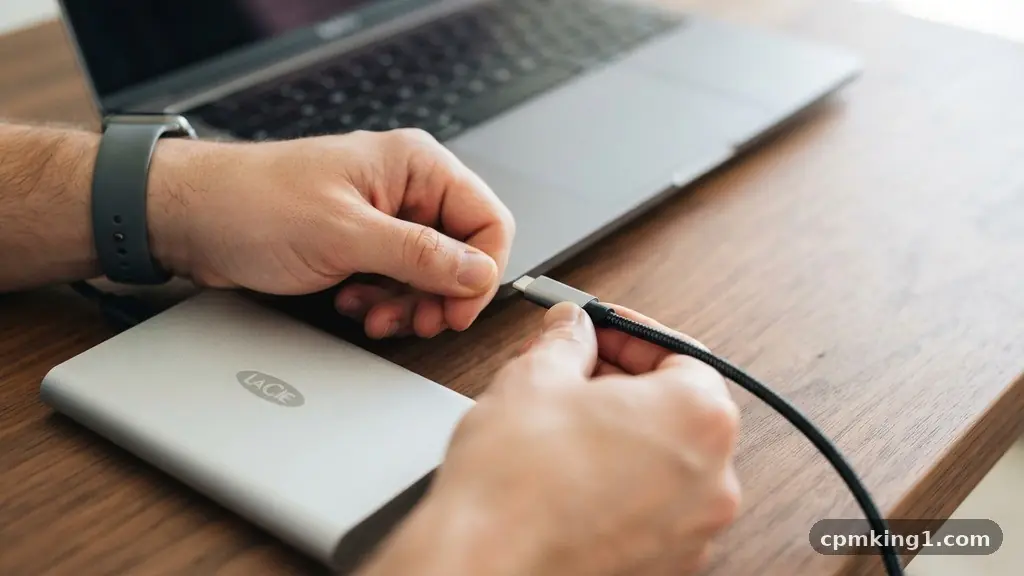
Finding that your computer cannot detect an external storage drive is a frustrating experience, especially when you are in the middle of a project or trying to back up important files. This situation often arises from minor connection hiccups, software glitches, or configuration errors that are surprisingly easy to resolve once you know where to look.
By systematically checking your hardware and system settings, you can often restore access to your data without needing professional help. This article provides a clear, step-by-step approach to what you should do when your computer cannot detect an external storage drive, helping you reclaim your files and get back to work quickly.
Check Physical Connections and Hardware Integrity
The most common reason for a drive failing to appear is a simple physical disconnection or a faulty cable. Before diving into complex software solutions, inspect the hardware interface thoroughly. Ensure that the USB cable is firmly seated in both the drive and the computer port.
If you are using a desktop computer, avoid using the front-panel USB ports, as they often provide less power than the ports located directly on the motherboard at the back of the case. Plugging the drive into a rear port can often provide the necessary power supply to spin up a mechanical hard drive or power a solid-state unit.
Examine the cable for signs of wear, such as fraying or bent pins. USB cables are prone to internal breakage, which might allow the device to receive power—indicated by a light—but fail to transfer data. If you have a spare cable that matches the drive’s connection, swap it out immediately to rule out a faulty cord.
Additionally, if your drive uses an external power brick, ensure it is plugged into a functional wall outlet. A drive that does not receive adequate electricity will often remain invisible to the operating system, even if the data cable is perfectly fine. Avoid daisy-chaining your drive through a USB hub, as these devices often struggle to provide sufficient power to external storage.
Utilize Windows Device Manager for Driver Issues
If the hardware appears connected but remains unseen, your next step is to investigate the software side using the Windows Device Manager. This utility tracks every piece of hardware connected to your machine and can reveal if there is a driver conflict preventing recognition. To open it, right-click the Start button and select Device Manager from the list.
Look for any entry marked with a yellow exclamation point, which indicates that the system recognizes a device is present but cannot communicate with it properly. Expanding the “Disk drives” or “Universal Serial Bus controllers” sections can often pinpoint the exact source of the trouble.
If you see a driver error, right-click the device and select “Update driver.” You can choose to have Windows search automatically for updated software, which frequently resolves compatibility issues. Another effective tactic is to uninstall the device from the list entirely and then unplug and reconnect the drive.
This forces the operating system to perform a fresh scan for hardware, which often triggers the installation of the correct driver. If the drive continues to show up as “Unknown Device,” you may need to visit the manufacturer’s website to download the specific driver software for your model. Keeping your system drivers updated is a proactive way to prevent these types of communication breakdowns.
Manage Drives Through the Disk Management Utility
When the device is physically detected but does not appear in your file explorer, it may simply be missing a drive letter assignment. Windows uses the Disk Management tool to handle all storage volumes, and sometimes a drive is correctly connected but lacks the path required for the operating system to display it. Open Disk Management by right-clicking the Start button and selecting it from the menu.
You will see a list of all disks connected to your PC, including internal drives and your external unit. If your external drive appears here but shows as “Unallocated” or “Not Initialized,” the system sees the hardware but cannot read the data partition.
Check for a black bar across the drive’s representation, which signifies unallocated space. If the drive is listed but has no drive letter, right-click the volume and select “Change Drive Letter and Paths.” Assigning a new, unique letter can often make the drive immediately visible in your file explorer.
Be cautious when using this tool; ensure you are modifying the correct drive by checking the capacity. Accidentally formatting or deleting a partition on the wrong disk will lead to permanent data loss.
If the drive shows as “Offline,” right-click the disk name and select “Online” to mount it. This utility is powerful and serves as the primary diagnostic center for any storage-related visibility problems.
Address File System Corruption and Formatting
Sometimes a drive is detected but remains inaccessible because of file system corruption. This can happen if a drive was removed without using the “Safely Remove Hardware” feature, which interrupts the writing process and damages the structure of the partition table. If the file system is corrupted, Windows might prompt you to format the drive before you can use it.
Only perform a format if you have already backed up your data elsewhere or if the drive is blank, as this process erases all existing information. For those needing to recover data from a corrupted drive, professional data recovery software may be required before you attempt to reformat or fix the partition.
If you are using the drive across different platforms, you should be aware of file system limitations. For instance, a drive formatted in a way that is incompatible with your current OS may not mount automatically. Windows primarily uses NTFS, while macOS uses APFS or HFS+.
The exFAT file system is a popular middle ground because it is compatible with both systems. If you find your drive is formatted for a Mac and you are trying to read it on Windows, you may need third-party driver software to bridge the gap. Understanding the basics of disk initialization is essential for managing storage across various hardware environments.
Troubleshoot USB Controller and Port Conflicts
If you have tried multiple ports and cables without success, the issue might lie with the USB controller on your motherboard. Occasionally, the controller responsible for managing USB communication can become unresponsive or enter a power-saving state that prevents it from waking up.
You can attempt to reset this by going back to the Device Manager, expanding the “Universal Serial Bus controllers” section, and right-clicking each “USB Root Hub” or “Host Controller.” Select “Properties,” go to the “Power Management” tab, and uncheck the box that says “Allow the computer to turn off this device to save power.”
This adjustment forces the USB ports to remain active and prevents the system from dropping the connection to your external drive. Another potential culprit is a motherboard firmware update. Manufacturers occasionally release updates to improve compatibility with external hardware, and if your system is running outdated firmware, it might struggle to negotiate a connection with newer, high-speed drives.
Check your computer manufacturer’s support page for any available BIOS or chipset updates. These updates are rarely the primary cause, but they are a critical step when all other troubleshooting methods fail to yield results for a persistent connection problem.
Consider Hardware Interface and Adapter Issues
For users who have removed a hard drive from an old laptop and placed it into an enclosure, the problem may be the SATA to USB adapter itself. These bridges are inexpensive components that can fail independently of the drive they house. If the enclosure’s power light is flickering or the drive makes a rhythmic clicking sound, the adapter might not be providing enough steady voltage to the drive motor.
You can test this by removing the drive from the enclosure and connecting it to a desktop computer via a standard SATA cable. If the drive appears immediately, you know the enclosure is the weak link.
If you are using a portable SSD, the hardware interface is usually integrated, meaning you cannot swap the adapter. In these cases, focus on the port integrity. Dust and lint often accumulate in USB-C or USB-A ports, creating a barrier that prevents the pins from making full contact.
Use a can of compressed air to gently clean the ports on both your computer and the drive. A small piece of debris can be enough to interfere with high-speed data signals, leading to intermittent detection or total failure. Always handle these components with care to avoid static discharge or physical damage to the delicate internal pins.
Maintain Drive Health and Prevent Future Failures
Preventing future issues is just as important as fixing current ones. Regularly checking your drive’s health using S.M.A.R.T. tools can provide an early warning before a drive fails completely. These tools monitor the internal diagnostics of your storage device and alert you to potential issues like bad sectors or overheating.
If you notice a drive becoming increasingly slow or failing to mount, it may be nearing the end of its life. Back up your critical files to a cloud service or a secondary physical drive immediately if you notice these warning signs.
Properly ejecting your drive is the single most effective habit you can adopt. Always use the “Safely Remove Hardware” option in the taskbar before disconnecting the cable. This ensures that the operating system has finished writing all data to the drive and has closed the file system handles.
Yanking a drive out while it is still active is a leading cause of file system corruption, which often results in the computer no longer recognizing the drive. By treating your external hardware with care and maintaining consistent backup routines, you can avoid the stress of losing access to your important files in the future.
Frequently Asked Questions
Why does my drive show up in Disk Management but not in File Explorer?
This usually happens because the drive lacks a drive letter assignment or has a partition that the operating system cannot read. You can fix this in Disk Management by right-clicking the volume and selecting “Change Drive Letter and Paths” to assign it a letter.
Can a faulty USB port cause my drive to be undetected?
Yes, USB ports can become damaged or fail to provide enough power to the drive. Try moving the drive to a different port, preferably one directly on the motherboard, to see if that resolves the connection issue.
What should I do if my computer asks me to format the drive?
Do not format the drive if you have important data on it, as formatting will erase everything. The prompt often appears due to file system corruption; you may need to use data recovery software to rescue your files before attempting to repair the partition.
Is there a difference between internal and external drive detection?
Internal drives are connected via SATA or NVMe directly to the motherboard, while external drives use a bridge (USB controller). External drives are more prone to connection issues because they rely on cables and adapters that can fail or suffer from power delivery problems.
How do I know if my external drive is physically broken?
If the drive makes clicking or grinding noises, or if it is not detected on multiple computers even after trying different cables and ports, it is likely experiencing a mechanical failure. In such cases, professional data recovery services are often the only way to retrieve the data.
Conclusion
Resolving the issue when your computer cannot detect an external storage drive requires a methodical approach that moves from the simplest physical checks to more advanced software diagnostics. By ensuring your cables are secure, updating your drivers, and using system tools like Disk Management, you can often bypass the obstacles that prevent your hardware from being recognized. If you have followed these steps and the drive remains invisible, it may indicate a deeper mechanical fault that requires professional intervention.
Remember that consistent, safe ejection practices and regular backups are your best defense against data loss. Should you find yourself stuck, don’t hesitate to reach out to a local technician or manufacturer support for further assistance with your specific device.